
Before Reservations can be used, you will need to ensure that Idealpos Reservations is enabled in the Licence Gateway and your Table Map contains Tables.
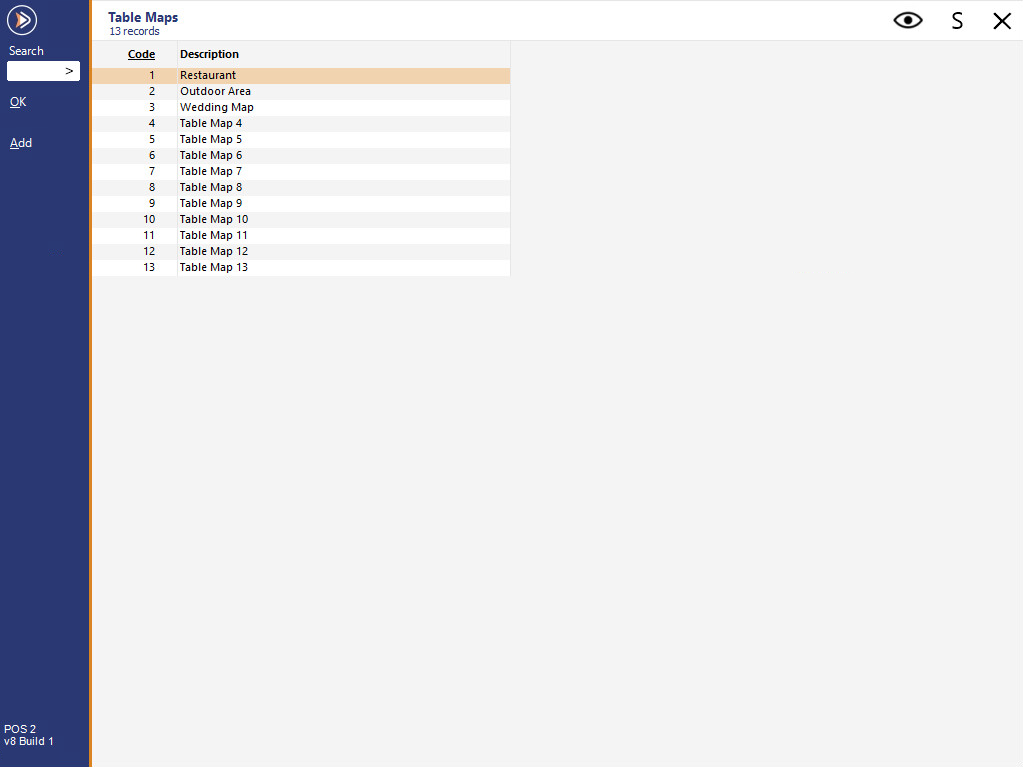
You can ensure that your Table Map contains Tables by going to Setup > Restaurant > Table Maps > Select a Table Map > Modify.
If there are no Table Maps or you want to create an additional Table Map, press the "Add" button to create a new Table Map; when pressing Add, a blank Modify screen will appear from where you will be able to add tables to the map.
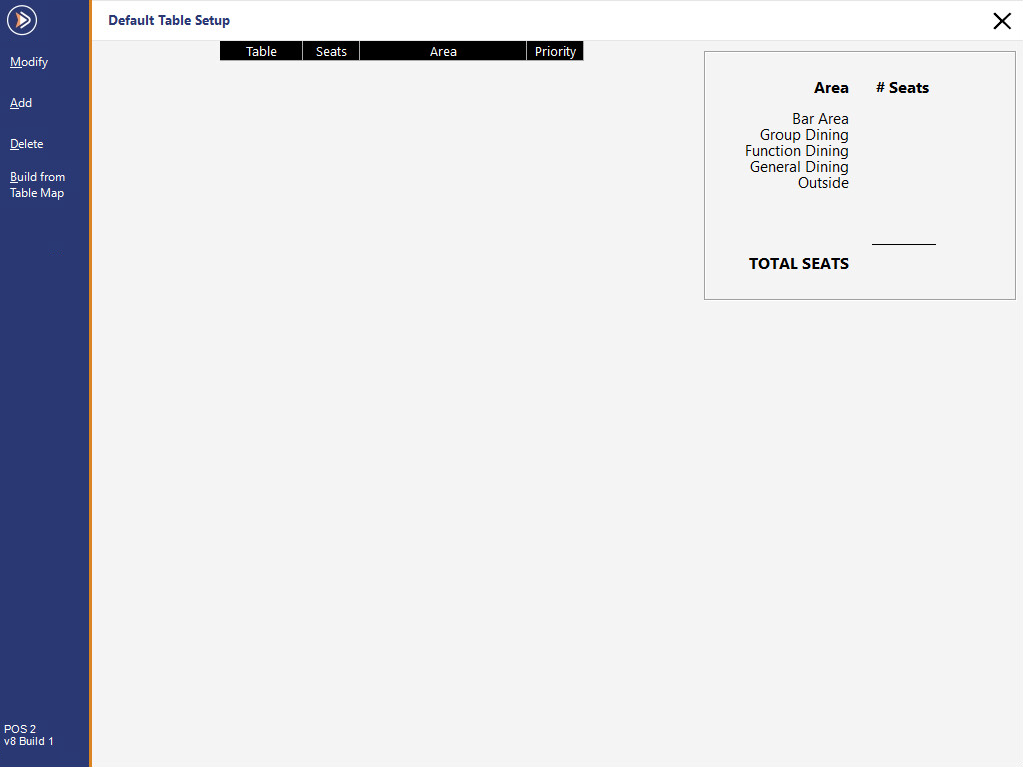
Once you have some tables, go to Reservations > Default Setup > Select a layout > Press the Tables button.
If you don't have an existing layout, press the "Add" button on the left-hand side, enter a layout description and press "Save", then close the window and your new layout will appear in the list of Reservation Default Layouts.
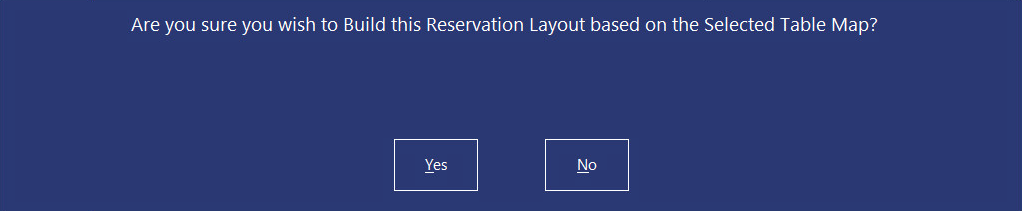
A new window will open and you can add tables manually one at a time, or you can press the Build from Table Map button to add all tables from the map.
After pressing the "Build from Table Map" button, you will need to select the Table Map you wish to build from.
The Reservation Layout will display all tables that were added from the Table Map that was selected when Building from Table Map in the previous step.
The following details will be displayed:
Table Number – Used to identify the table on the Table Map.
Seats – Default number of guests/covers that are assigned to that Table.
Area – The Location/Area of the Table. When using the "Build from Table Map" function, the Area shown will default to Area 1 which is configured in Setup > Global Options > Reservations > Areas.
Priority – The order that the Table is reserved.
Overview – Details the number of Seats per Area and Total Seats.

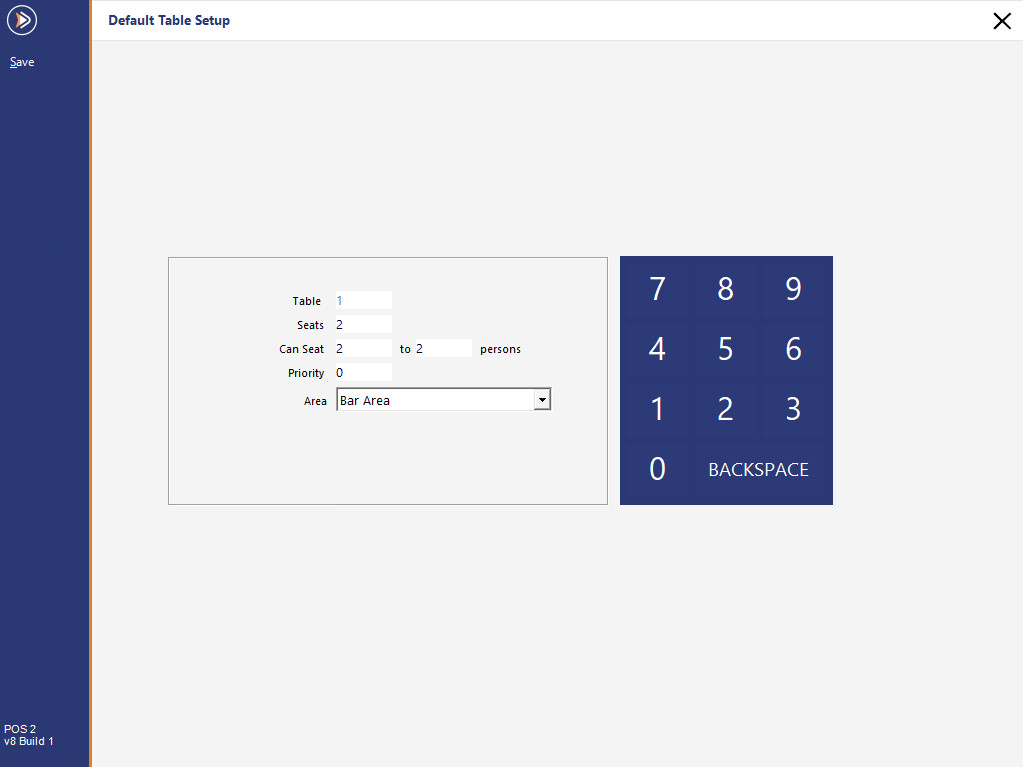
By default, changes may be needed to the Tables. Change the following details:
Seats – The number of seats the Table will likely have most days.
Can Seat – The minimum and maximum number of seats that can be allocated to the Table.
Priority – Numbered from 0 as first priority and each number prioritised after.
Area – The Location/Area of the Table. Idealpos supports a maximum of eight areas. When using the "Build from Table Map" function, the Area will be pre-filled using the description entered in Area 1 configured in Setup > Global Options > Reservations > Areas.
When pressing the Reservations button from the Table Map, if the Code of the currently displayed Table Map matches a Reservations Area Code, the Area shown and selected in the Reservations window will be locked to the Area Code that matches the Table Map Code.
E.g. When opening Table Map Code 1 and pressing the Reservations button, the Reservations screen will be locked to Area 1.
If the Table Map Code does not match any of the area codes, the Reservations screen will show tables from ALL Areas and will not be locked to any specific area.
Therefore, when configuring Reservations with Table Maps and Tables, you may want to have your Areas/Area Codes correspond to a matching Table Map Code so that when a Clerk presses the Reservations button from a Table Map, they will see a list of Tables that are located on the current Table Map.
This function does not need to be performed on each table, but for the correct use of Reservations, it is recommended.